What is Sublimation Printing?
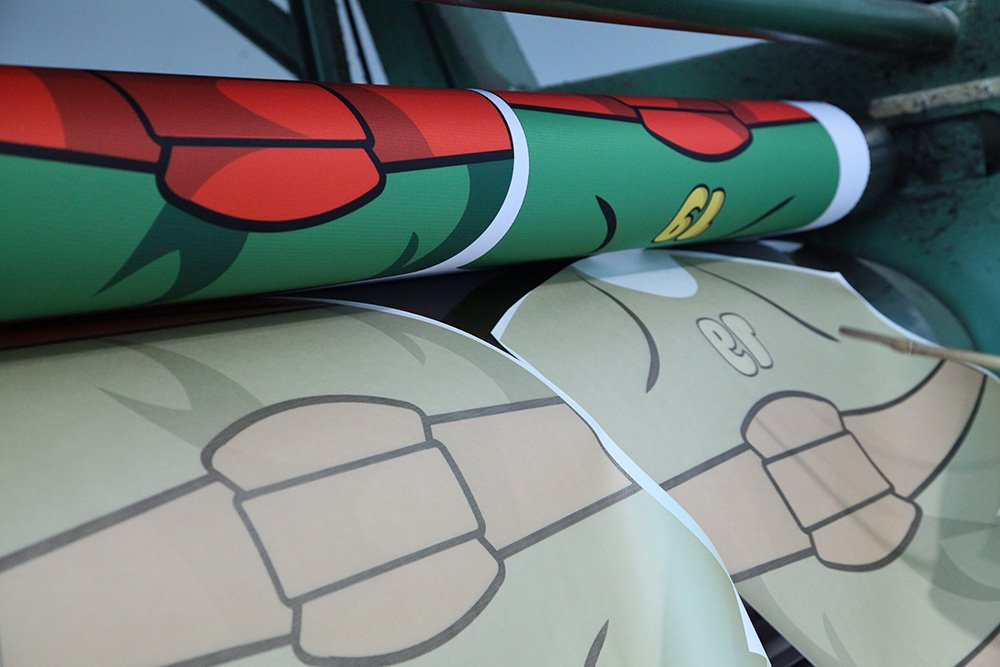
Sublimation printing is a digital printing technology that uses heat to transfer dye onto materials such as polyester. This process allows for full-color, high-resolution prints that are permanent and won’t crack, peel, or fade over time.
Materials Needed
- Polyester Sportswear: Sublimation works best on polyester or polyester-coated items.
- Sublimation Printer: A specialized printer that uses sublimation inks.
- Sublimation Inks: Special inks that turn into gas when heated and bond with polyester fibers.
- Heat Press Machine: Used to transfer the sublimation ink onto the sportswear.
- Transfer Paper: Sublimation paper to print your designs.
- Design Software: Software like Adobe Illustrator or CorelDRAW to create your designs.
Step-by-Step Guide
- Design Creation
- Start by designing your artwork using graphic design software. Ensure your design matches the dimensions of the sportswear.
- Remember to mirror your design before printing, as the sublimation process will reverse the image.
- Printing the Design
- Load your sublimation printer with sublimation ink.
- Print the mirrored design onto sublimation transfer paper. Ensure the printer settings are optimized for high-quality output.
- Preparing the Sportswear
- Preheat your heat press to the recommended temperature (typically around 400°F or 204°C).
- Place the sportswear on the heat press platen. Smooth out any wrinkles to ensure even transfer.
- Transferring the Design
- Position the printed transfer paper onto the sportswear, ensuring it aligns perfectly.
- Cover with a Teflon sheet to protect the fabric.
- Close the heat press and apply firm pressure for the recommended time (usually around 60 seconds).
- Cooling and Finishing
- Once the transfer is complete, carefully remove the transfer paper.
- Allow the sportswear to cool before handling to set the dye completely.
- Quality Check
- Inspect the sportswear for any imperfections or incomplete transfers.
- Wash the sportswear to ensure the design remains intact and vibrant.
Tips for Best Results
- Use High-Quality Images: Higher resolution images will result in clearer and more vibrant prints.
- Maintain Consistent Pressure and Temperature: Variations can lead to uneven transfers.
- Practice on Test Pieces: Before printing on the final sportswear, practice on test pieces to perfect your technique.
- Keep the Work Area Clean: Dust and debris can interfere with the transfer process.
Conclusion
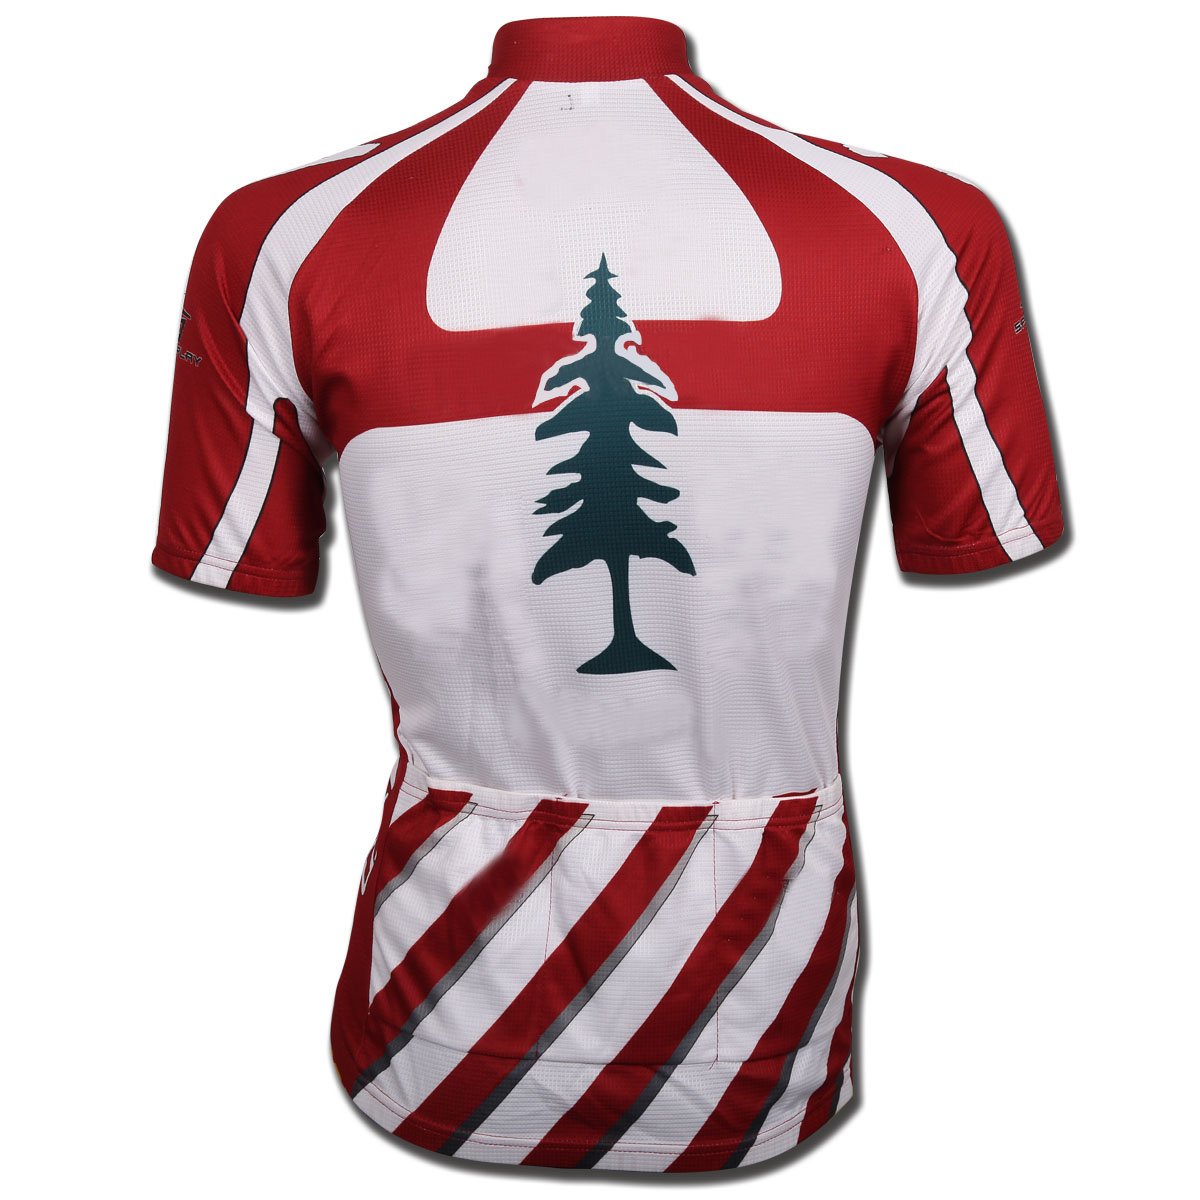
Sublimation printing is an excellent method for creating personalized sportswear that stands out. With the right materials and careful attention to detail, you can produce professional-quality sportswear that reflects your unique style and branding. Whether you’re a sports team looking to create custom uniforms or an individual wanting to express your personality, sublimation printing offers endless possibilities.
Start experimenting with designs and enjoy the process of creating personalized sportswear that is as unique as you are!
有限公司_画板-1.png)


